If you haven’t watched the videos on lock bumping, raking, and picking, do that first before reading the rest of this post. The executive summary is that unless you have expensive high security locks on your doors, the chances are that it’s really easy to unlock your lock without a key within seconds, and not leave a trace. But you really need to see how easy it is to believe it. When changing the locks on my house, I was wondering what I can do to make it harder to open them using a bump key. Turns out that you can cheaply modify off-the shelf deadbolt to be significantly harder to bump or pick.
The Why
First of all I would like to address the question “why do this?”. A common sentiment is that a lock is not going to stop a determined thief, who can always break a door, a window, or drill out the cylinder and enter your house. This is all true, and this a good reason why buying expensive high security locks makes no sense unless you approach security in a more fundamental way, and make sure that there are no simpler ways to enter your home than picking the lock. And, unless you have some serious valuables in your home, it probably makes no sense to invest in a whole-house security overhaul.
Anyone with half a brain can buy a bump key for less than $10 off eBay and go foraging around random homes. What worries me about bumping and raking is that it usually leaves no trace of forced entry. You may not even be aware that your house was entered until you find something missing. In contrast, if a thief has to kick in my door or break a window, I’d know right away. Detection is very important to me. And bumping is too simple to be ignored.
Choosing the Deadbolt
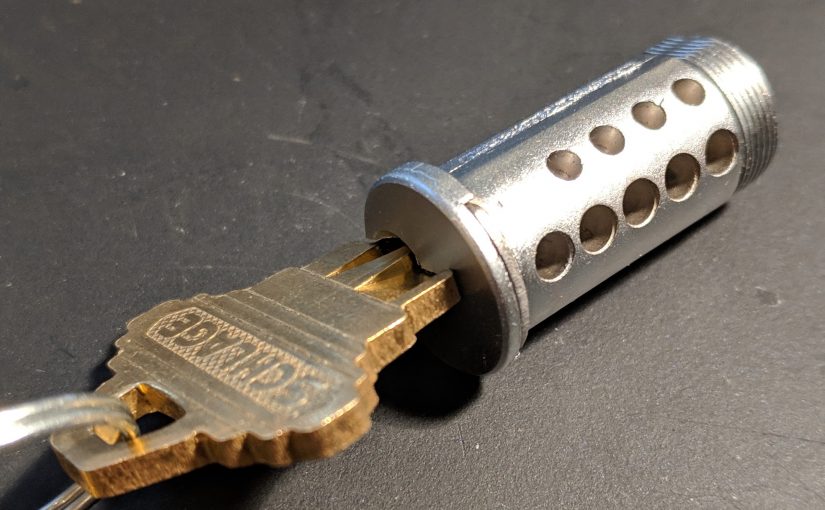
My house has four locks. My goal was to have all four keyed to the same key, and to ensure that all of them are equally resistant to bumping. A high security lock costs more than $200, and I was not going to pay $800 for locks on a house that has regular weak doors and windows. So, as a start, I needed to find affordable deadbolts that suck the least. In my opinion, Schlage B60N series fits the bill. These are regular pin-and-tumbler deadbolts that claim Class 1 (commercial) quality.
Some professional locksmiths question this classification, saying that Schlage did something questionable to achieve it. If you want a true Class 1 deadbolt, get a Schlage B660, which has stellar reputation for quality, but (a) it costs almost four times as much as a B60N, and (b) in its nominal configuration adds no security at all, compared to a B60N. If I only had one door to deal with, I would have probably bought the B660, but for four doors this was over my budget, so I had to do with the next step down.
I found the quality of the B60N to be quite adequate, although I wish that the cylinder had better surface finish for smoother operation. There is an anti-drill plate protecting the pins in the cylinder, and also one protecting the screws that hold the two halves of the lock body together. The B60N comes with an antipicking shield and a strike plate reinforcement plate, which are good additions. The deadbolt itself seems to be quality made and is thicker than the deadbolt on a Weiser Smartkey locks that I replace. Here is a video in which the LockPickingLawyer talks about the B60N.
Modifying Your Deadbolt
After a lot of research, I identified three things that can be done to significantly improve security of a normal off the shelf deadbolt:
- Choose a good key bitting.
- Replace one of the springs with a high tension spring.
- Implement bumping/picking trap using T-pins and master wafers.
The first two items are very easy to implement. The third item is still fairly easy if you are lucky, and moderately easy if you are not so lucky. I will discuss all three items separately.
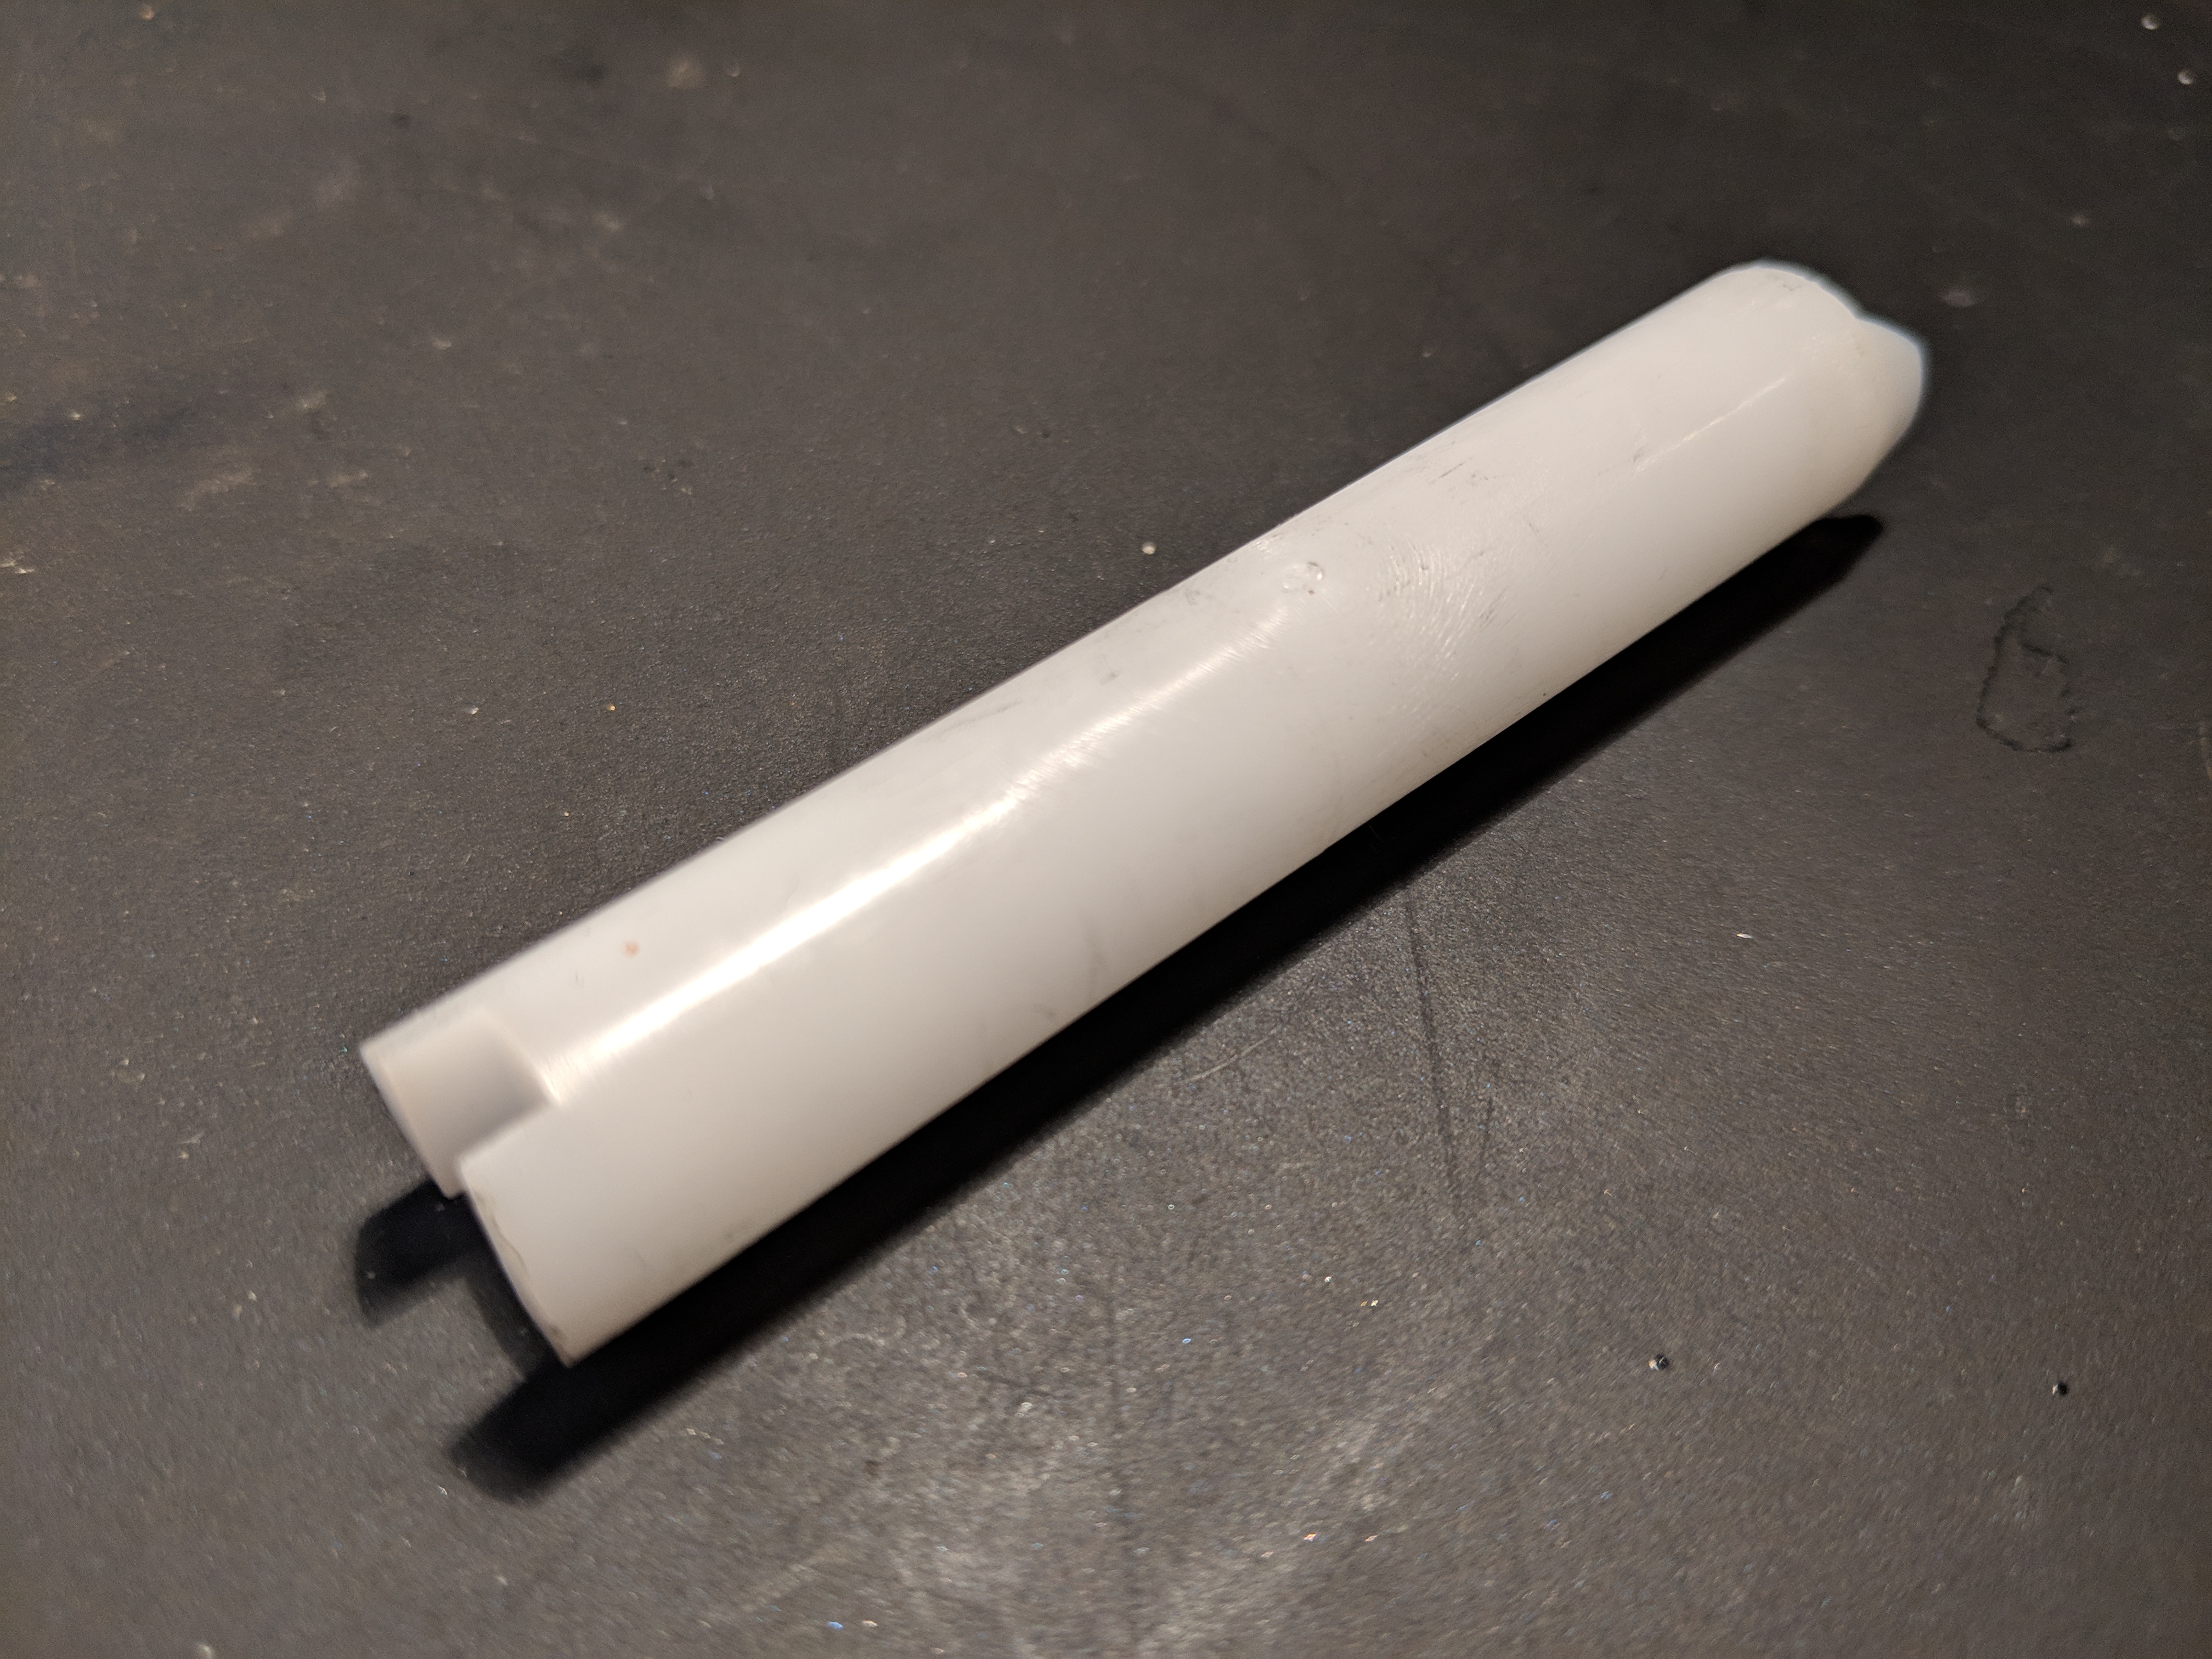
The only tool you need to make the above modifications is something called called the “plug chaser”.
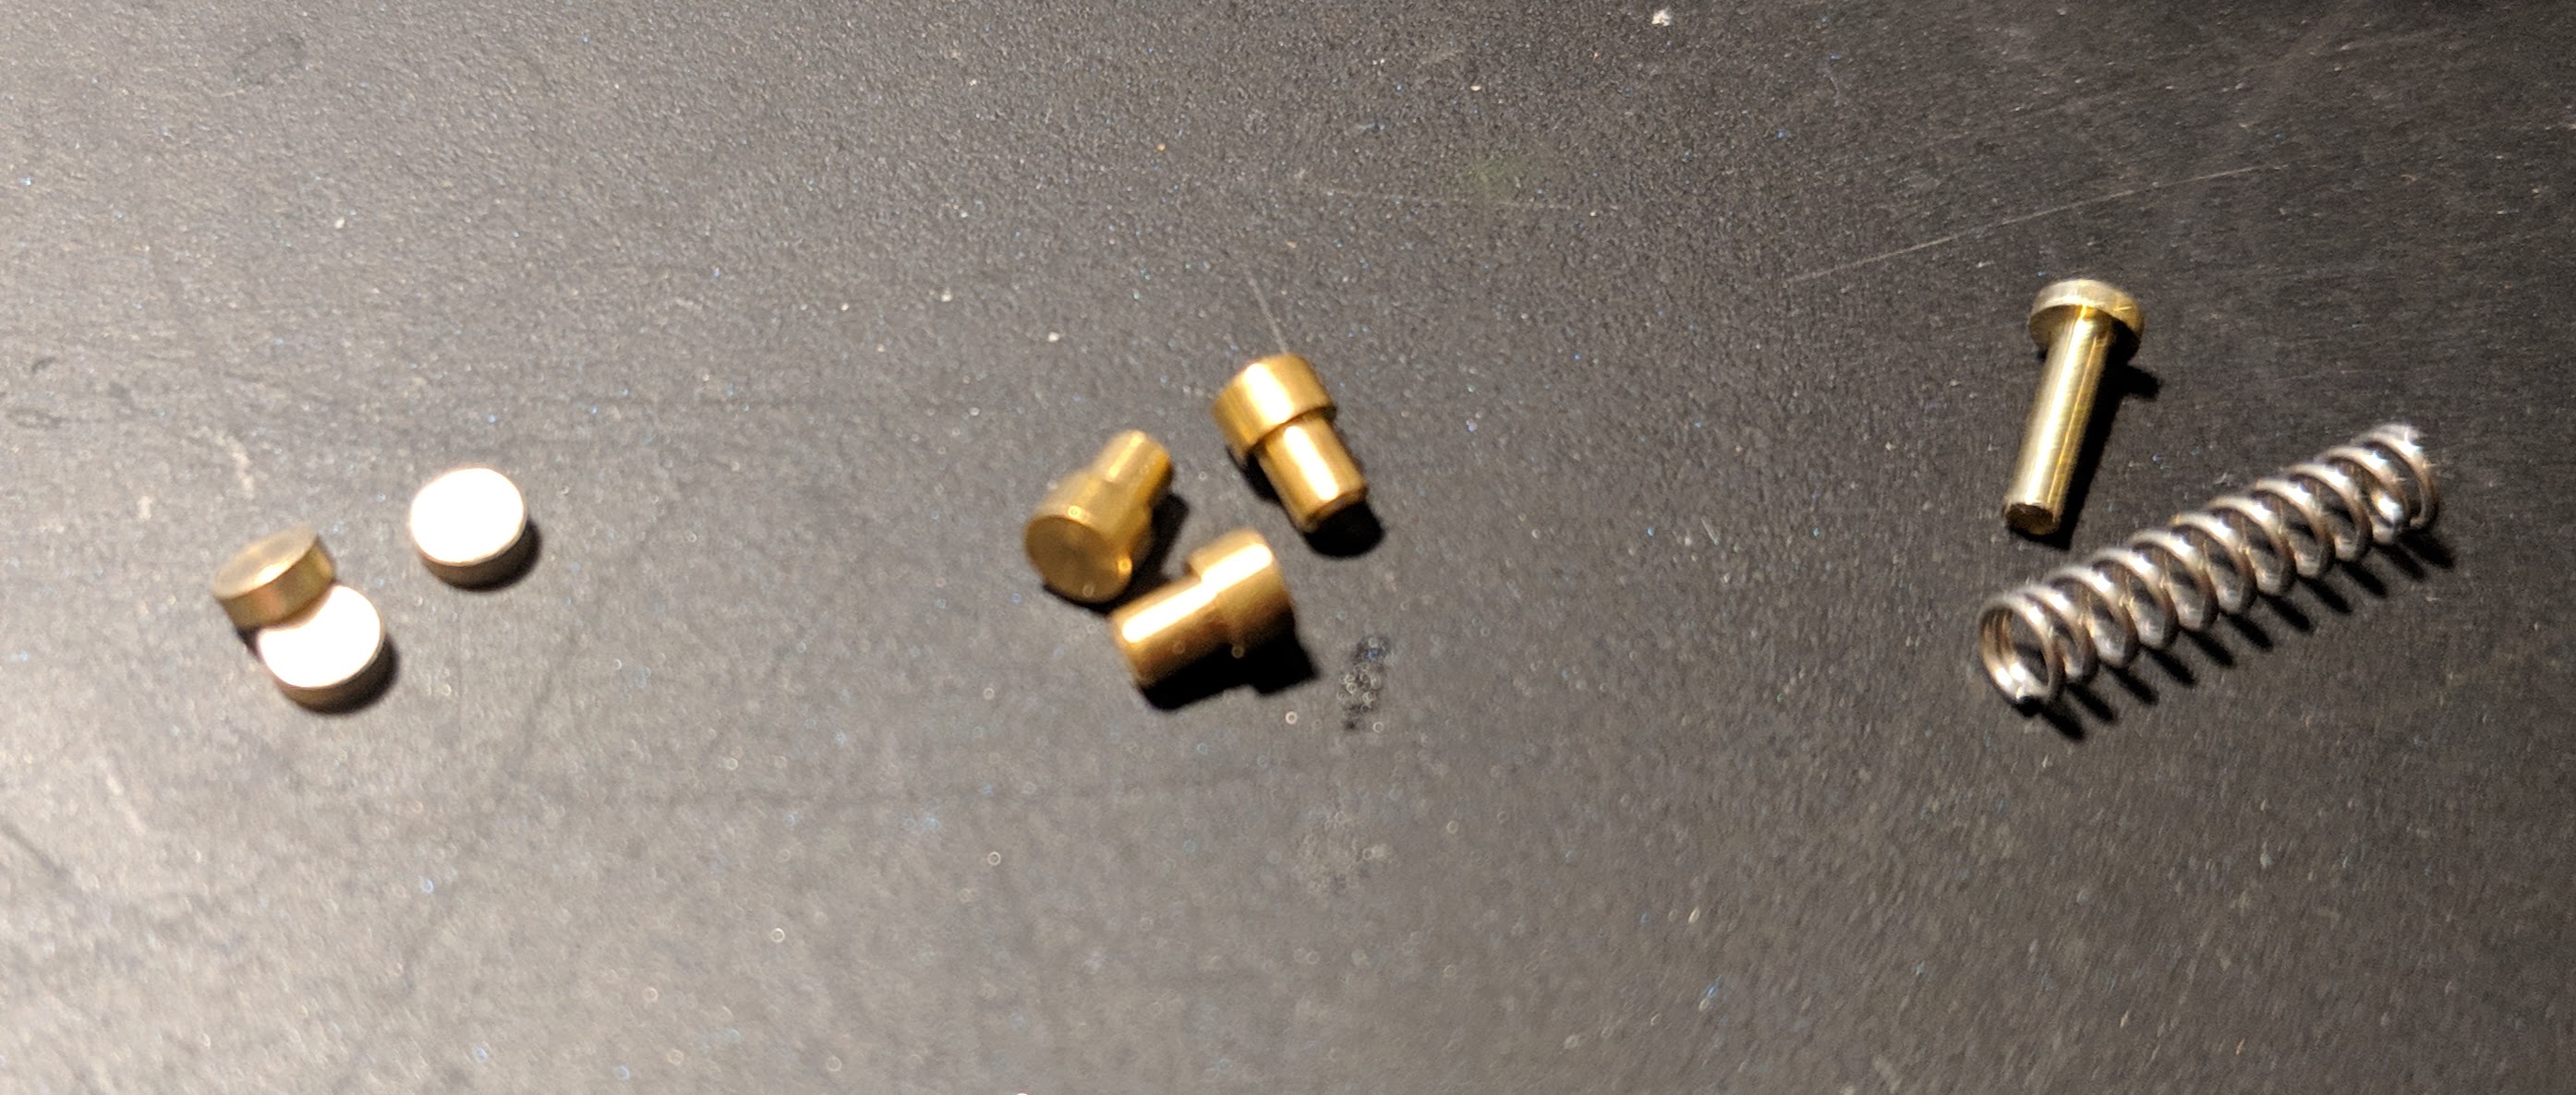
For supplies, you need to buy the high tension springs, T-pins and master wafers. You also need a set of keying pins. Most of these items can be bought as a set, or you can mix and match as you wish.
Key bitting
Key bitting refers to the pattern of keying pins that you choose to use in your lock. In case of Schlage locks, each keying pin can be of 10 different lengths (from 0 to 9). To make your lock harder to bump or pick, it’s best to choose a key bitting in such a way that two adjacent pins are of significantly different lengths. This way a bump key would have to throw some pins up just a little bit, and others – quite significantly. This variation makes bumping less likely to work.
The bitting is expressed in a series of numbers. For five-pin locks (like the B60N), this would be a series of five numbers. These numbers are often stamped on the key that comes with the lock. For example, one of my locks came with a key bitted 47634. This means that the outmost pin is number 4, second pin is 7 and so forth. See how the factory bitting is not very secure, because the biggest difference between pins here is 4 (longest pin is 7, shortest is 3), but you can choose a bitting where the biggest difference would be 9.
There is an important parameter, called MACS, or maximum adjacent cut specification, which limits the maximum difference between two adjacent pins. For Schlage locks is it 7. This means that you cannot have a pin 0 right next to a pin 9. The shortest pin you have next to a 9 is 2, because the difference is 7. But MACS applies only to adjacent pins. That is to say that a sequence 920 is possible. So you can still have a bitting in which the biggest difference between pins is 9.
Once you come up with a good, varied key bitting, phone your local locksmith and request them to cut a key “by code”. Give them the bitting you’ve chosen, and they’ll create a key for you to match that bitting. Then you can rekey your locks to that key.
High Tension Springs
Another simple modification you can make is to replace one of the springs in your lock with a spring with a higher tension. The idea is that a high tension spring is a lot harder to bump, especially if your lock will have springs with different tensions. Finding this high tension spring was difficult, until somebody pointed me to a product called ILCO Bump Halt conversion kit.
The kit consists of ten high tension springs and T-pins that could be dropped in instead of the normal spring and a top pin. The kit comes in two varieties: “For Knobs and Levers” and “For Rim and Mortise Cylinders”. From what I understand, the difference is the length of the spring. For my Schlage B60N I needed the “Knobs and Levers” kit. The kit retails for around US$10, and can convert 10 locks.
It is recommended that you replace only one spring with the high tension spring, because if you replace more than one, the lock will be harder to operate and may wear down the key faster. Additionally, it is recommended that you replace the spring for the shortest pin you use. So, if you have a “0” pin in your bitting, drop the ILCO spring into the respective chamber and call it done.
Construction Holes, T-pins and Master Wafers
The last step in improving my deadbolt was to implement a trap for bumping and picking. I learned about the trick from the video 527 by the LockPickingLawyer. The idea is to replace the top pin for a T-pin with the narrow end pointing downwards and a master wafer, and to make use the construction holes found on most lock cylinders.
When a key is inserted, it pushes the master wafer out of the cylinder’s chamber, and the master wafer blocks the T-pin from engaging with the construction hole. However, if picking or bumping the lock, it is highly likely that one of the master wafers would remain below the shear line, in which case the T-pin would drop into the construction hole when the cylinder is turned, and seize the lock.
For this to work, your lock’s cylinder (1) needs to have a set of construction holes, and (2) the construction holes need to be on the correct side of the pin chambers. The cylinder of the B60N lock has a set of four construction holes, which are on the left side of the pin chambers.

Which side is “correct” depends on which way your door swings. In my case, I have three doors with hinges on the right hand side (when viewed from the outside), and one door with the hinges on the left hand side. This means that on three of my doors I need to rotate the key clockwise to open the lock, and on one door – counterclockwise.
So, the construction holes on the left of the pin chamber work for three of the doors for me, but for one door I had to modify the cylinder by drilling an additional set of construction holes on the right side of the pin chambers. Drilling them was easy once I figured out how to ensure that the holes are aligned perfectly. I am going to post another how-to about drilling those holes.
The process of replacing the top pins for T-pins and master wafers is explained in the video I linked above, so I am not going to go into any more details.
Conclusion
For just a few more dollars, it is possible to modify a regular deadbolt lock to be significantly more secure. I don’t really see any reason not to do it, and it surprises me that these small, cheap modifications are not implemented in the off-the-shelf locks. Did you find this post useful? Leave me a comment below.
Good information, just finished rekeying my locks looks like I need to go back and do some work on the them
Thanks, Dale, it’s nice to hear that this was useful to someone.
What are the second row of holes running slightly clockwise from the standard pin holes in the cylinder?
Those are the construction holes, normally used to make a “construction” key that will work until the house owner uses the real key for the first time. Those holes have smaller diameter than the holes for the normal keying pins, which is why the T-pin modification works.
Hi Arcady
I wound up here after watching that same Lpl lawyer video and I was wondering about a couple of things. Be glad to hear your thoughts.
Firstly; are the t-pins thinned enough to shear if. After jamming the lock you put a screwdriver in and tried to force it. (Just wondering as in the UK you can often twist the whole barrel as a lot of diy’ers don’t screw the back plate to the door)
Secondly.; If you cut a channel the width of T from one hole to the other do you think the lock would be enough harder to pick but no longer jamb.
Love your thoughts on this.
By the way, good post thanks
Alastair
Hi, Alastair, glad that you found this post useful.
1. I don’t think that it is possible to shear the T-pin after it jams into the construction hole. The plug and the cylinder body are made of fairly soft metals, and I doubt they can shear a brass pin, even the thin one. Even if this were possible, I would not be worried about that, because the whole point, in my opinion, is to prevent undetected break-ins. You can’t prevent people from messing up the lock to enter the door, so, as long as they have to leave behind physical damage, I am OK with that risk.
2. It’s an interesting idea, if I understand it correctly, you are proposing a grove between the main pin hole and the corresponding construction hole, with the same width as the construction hole’s diameter.
If you make the grove the same depth as the construction hole, then it would defeat the purpose – somebody picking the lock will be able to “reset” a failed picking attempt by rotating the plug to the initial position to try again.
If you make the grove shallow, allowing the T-Pin to irreversibly jam into the construction hole, this could effectively offset the shear line for the T-pin below the main shear line, so it should be easier to set the T-pin instead of the master wafer when picking. It sounds like an improvement. I’d be interested in hearing what LPL thinks about this, as I am by no means an expert.
Also, machining such a grove with enough precision is probably beyond the scope of a regular DIY tinkerer, you’d need a mill and some sort of a vice with a chuck, I’d imagine.
Hi Arcady
Yes you’ve got my meaning exactly,
we are approaching this from different perspectives. I understand your wanting to trap the cylinder. While I’m thinking more about challenge locks ( big fan of Bosnian Bill, even though he’s stopped doing the challenge locks)
I was thinking the grove would be between the width of the pin and the reduced diameter at the base of the T, the full diameter pin would still trap in the hole.
What I’m thinking is that instead of going into a false set the lock would be free to rotate as if picked and with four or five such channels the feedback might be the same as if it were picked until you hit the end of the channel. It removes the ability to reset a pin without starting again and you wouldn’t know which one it was.
Unfortunately I’m not able to pick yet and that’s why I was asking.
With a hole at either end I thought it might be possible with a dremmel I’ve seen challenge locks done that way although it’s not pretty.
Thanks for taking the time to answer. And you’ve given me plenty to think about.
Alastair
Hi again
I’ve thought some more and I think picking wise both things are exactly the same except mine being resettable is a challenge lock while yours is a tamper evident trap lock, which makes more sense.
Thanks again.
Alastair
Great article. Thanks for the info.
Do you have a link by chance for the wafer/t pin/spring set and plug chaser?
Thanks for the great write up.
Hi, Kevin, I bought pretty much everything (except for the high tension springs) from seller williamspartrsco on eBay (https://www.ebay.ca/sch/williamspartsco/). That seller was awesome, they put together a custom package with everything I needed. This was two years ago.
Later I found that one of the local maker labs had a licensed locksmith as a member, I got the high tension springs from him. I could have probably bought everything else from him.
Upsettingly, local locksmith shops denied my requests to sell me pins.
This is a great blog post! Do you have a link to the other post on how to drill an additional set of construction holes?
Hi, I never got around to publishing that post. Perhaps I should.
The way I did this was to use a spare cylinder and a tap that is just slightly larger than the pin chambers. I tapped the thread inside the pin chambers of that spare cylinder. Then, I inserted the plug and rotated it so that the area where I wanted to drill was aligned with the pin chambers.
I then screwed the tap into the pin chambers, so that the pointy end of the tap made a row of dents, perfectly aligned with the pin chambers. I then held the plug in a vise and used a hand drill to drill a set of construction holes.
Maybe there is a simpler way to align the holes with the pin chambers, but I could not think of one. This method worked well for me, though, I tested the T-pins dropping into the construction holes, and all of them worked very well.